Do you already know all about Stock & Noble’s Premium Steel Gates and are ready to elevate the security and elegance of your property? Then keep reading.
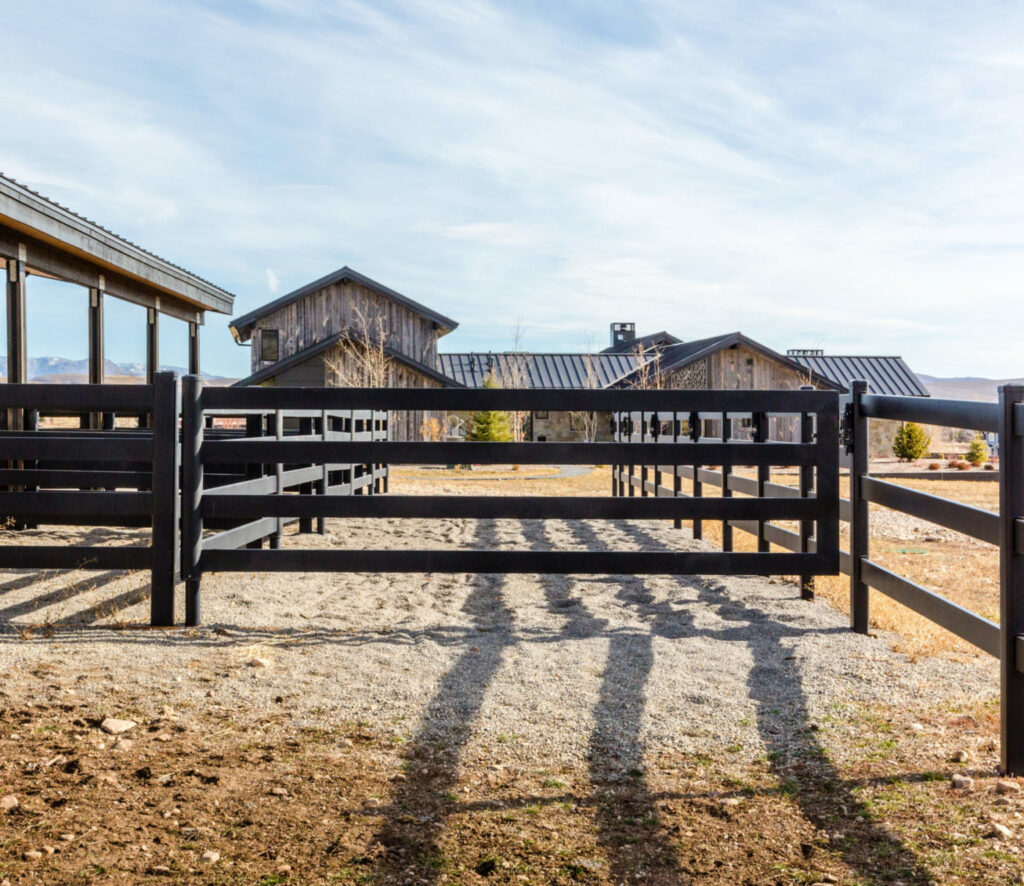
Whether you’re incorporating them into our exclusive Premium Steel Post and Rail Fencing System(Buckley) or pairing them with other fencing types like timber, PVC, cattle rail, or flexible fencing, our versatile gates are designed to enhance the overall appeal and functionality of your space.
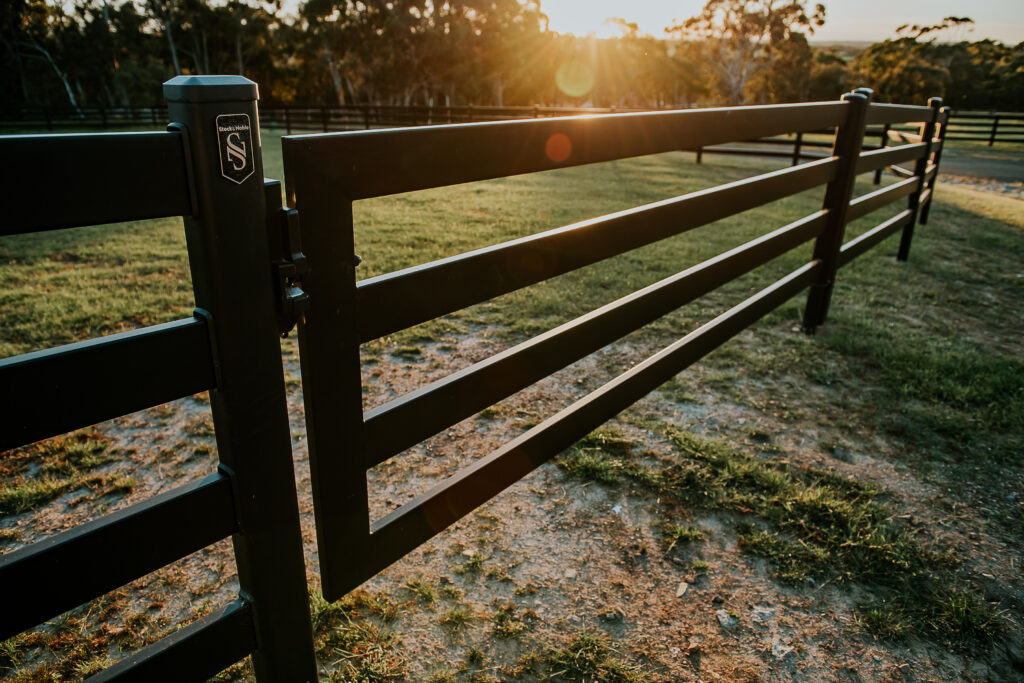
At Stock & Noble, we provide top-notch fencing solutions for high-end properties across Australia and New Zealand. We carefully select our products based on their proven quality, functionality, and safety worldwide. Among our offerings, the Buckley Steel Gates shines as a leading option for steel gates in the country.
In this guide, we’ll take you through the installation process for our Premium Steel gates, ensuring a seamless experience no matter which fencing system you choose.
Before we begin there are a few important points to note:
Compatibility Across Fencing Systems:
If you’re considering adding Buckley gates to your existing fencing, you’re free to do so, seamlessly integrating them for enhanced security and aesthetics. However, it’s important to note that while you can use Buckley gates with various fencing types like timber, PVC, Cattle rail, and flexible fencing, the reverse isn’t possible – other gates cannot be used with the Buckley System.
Uniform Installation Method:
One of the remarkable aspects of Stock & Noble’s premium steel gates is the consistency in the installation process, regardless of the fencing system you choose. While there may be some extra steps when installing them within the Buckley System, the fundamental principles remain the same.
This video will help you gain an overview of the installation process of Premium Steel Gates from Stock & Noble, as we discuss a step-by-step process below.

Step 1: Install the gate post
Determine the appropriate gate size. You can choose from 1.22m, 2.4m, or 3.66m, based on your needs. Follow the next steps to install the gate post.
1. Dig a hole in the ground
Create a hole with a 300mm Diameter auger, ensuring it’s at least 1.2 meters deep.
2. Align the gate post with the end post
If part of the Premium Steel Post and Rail fence, both posts should be aligned. Leave a 75mm gap between them.
3. Use a timber block
Place a 75mm thick timber block between the gate post and end post to maintain the right spacing and height.
Tip: use stretch wrap to hold the two posts together, sandwiching the 75mm spacer.
4. Position the gate post lower when using with Buckley System
The gate post should sit approximately 75mm lower than the end post for proper alignment.
5. Secure with concrete
Once in the right position, use concrete to secure the gate post in place.
Step 2: Install the Gate Once the Concrete Sets
Once the concrete has solidified, follow these steps to install the gate:
- Carefully remove the wooden spacing block.
- Unpack the gate
- Pay attention to one end of the gate, which features a round steel section.
- Position this round section over the gate post that has been freshly concreted into the ground.
Step 3: Level and Adjust the Gate
After sliding the gate over the post, the next step is to ensure it’s level and correctly adjusted.
- Locate the adjusting bearing at the bottom of the gate.
- This bearing can be swivelled around to modify the gate’s height.
- Rotate the circular mechanism to either raise or lower the gate until you achieve the desired height and level.
Step 4: Install the EZ Latch
After levelling the gate, the next step is to install the EZ Latch.
- Begin by inserting the latching pin into the predrilled hole in the gate.
- Use the pin as a locating anchor to mark the position where the latch will align.
- Line up the latch with the marked position.
- Mark and drill the corresponding holes in the end post.
- Mount the latch securely, ensuring that the gate opens freely in both directions.
- Once this is achieved, tighten the bolts to secure the latch in place.
If you want, you can learn further about the specifications and decide whether the EZ latch is worth the investment or not.
Step 5: Add Mesh to the Gate
With the EZ Latch installed, your gate installation is now 95% complete. After this, you need to decide if you want to add mesh to your steel gate or not.
At this stage, it’ll be valuable to find out if you should attach mesh fencing to your premium steel gates.
- If you intend to add mesh, start by purchasing adjustable mesh brackets.
- These brackets hang below the bottom rail and can be adjusted to your desired height, whether it’s 10mm or 100mm off the ground.
- Once adjusted to the desired height you are ready to attach mesh.
- Attach your chain-link mesh securely to the gate.
Learn the step-by-step process to attach mesh to your premium steel gates.
Note: When the gate is mounted, there is typically a 300 to 400mm gap underneath. Hold the mesh securely in its place, by using the mesh brackets which provide an additional bottom rail. This specially designed mesh attachment rail also provides added strength and support.
How to install Premium Steel Gates with Other Fencing Systems
While the basic process of installing steel gates is the same as Buckley and other fencing systems. However, there are some minor differences.
If you plan to install the gate with Horserail fencing, PVC, Timber, or other fencing types, follow these steps:
- Drill a 250mm hole in the right location.
- Set your gate posts in concrete, ensuring they are positioned higher than the fence’s finish height. This adjustment is crucial for uniform height. Tip: 30-50mm higher than your finished fence height is all you need to allow.
- Once the concrete has set, mount the gate temporarily and measure the top rail’s height compared to the top rail of your fence.
- Remove the gate from the post and trim the post’s top-down by the measured length.
- Remount the gate, proceed with levelling, attach the latch, and add the mesh if required.
- These steps ensure a well-fitted gate that complements your chosen fencing type.
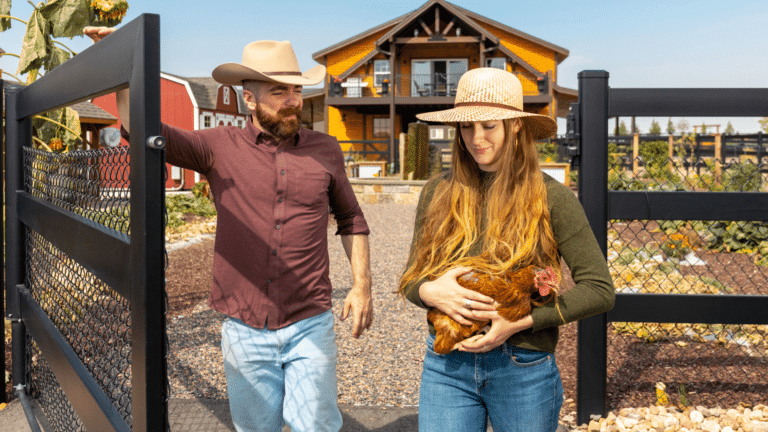
Ready to install Premium Steel Post and Rail Gates on your property?
You are truly impressed with the premium steel gates from Stock & Noble and wanted to know the process of installation.
Now that we’ve walked you through the step-by-step installation process Buckley Steel Gates, you’re well-equipped to embark on this project and elevate your property’s security and aesthetics.
These gates are not only versatile, allowing compatibility with various fencing systems, but they also offer a uniform installation method with a few differences, making the entire process hassle-free. Whether you’re working with the Buckley System or other fencing types like timber, PVC, cattle rail, or flexible fencing, these Premium Steel Gates will seamlessly integrate and enhance your property.
Remember to choose the gate size that suits your needs, follow the installation steps, and, if desired, add mesh to your gate for added functionality. It’s also important to know the cost of buying and installing these premium steel gates. So, you have all the information you need to plan your fencing project efficiently.
If you have further questions on the Premium Steel Post and Rail Fencing, the gates, installation method or compatibility with your existing fencing system, connect with our fencing experts. They will listen to all your requirements in detail and help you create a safe and beautiful property that matches your vision as well as your budget.